
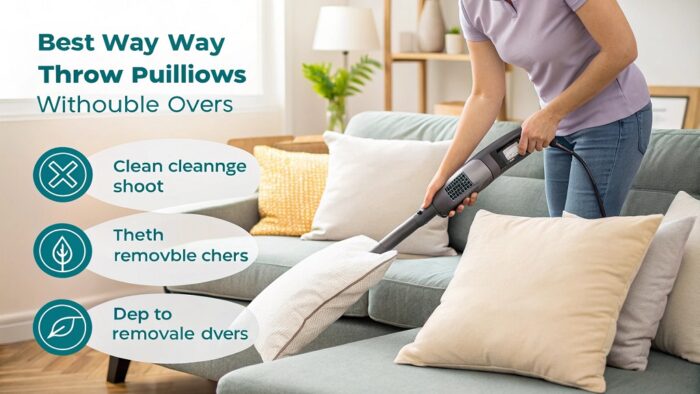
Clean throw pillows are the unsung heroes of home decor. They add pops of color, texture, and personality to our sofas, chairs, and beds. But let’s be honest, life happens. Spills, dust, pet hair, and just everyday use can leave them looking less than stellar. And when those pillows don’t have a handy zipper to just toss the cover in the wash? Cleaning can feel like a daunting task.
Fear not! While clean throw pillows without removable covers require a bit more TLC, keeping them fresh and clean is absolutely achievable. It’s all about knowing your pillow and choosing the right approach. This guide will walk you through the best methods, from quick spot treatments to deeper cleaning techniques, ensuring your decorative pillows stay beautiful and hygienic for years to come.
Why Bother Cleaning Those Tricky Throw Pillows?
Before we get into the “how,” let’s quickly cover the “why.” It might seem like a purely aesthetic chore, but cleaning your throw pillows, especially those without removable covers, is important for several reasons:
- Health & Hygiene: Pillows become magnets for dust mites, dead skin cells (we shed thousands per hour!), pet dander, bacteria, and other allergens. These microscopic culprits can trigger allergies and respiratory issues. Regular cleaning helps keep these unwelcome guests at bay.
- Odor Elimination: Over time, pillows absorb odors from cooking, pets, or simply being in a lived-in space. Cleaning helps neutralize these smells, keeping your living areas fresh.
- Appearance: Dirt, stains, and grime dull the fabric and make your pillows look tired and uninviting. Cleaning restores their vibrancy and keeps your decor looking sharp.
- Longevity: Removing dirt and oils prevents them from breaking down the fabric fibers prematurely, helping your favorite pillows last longer.
Before You Clean: Know Your Pillow
This is arguably the most crucial step. Acting without knowing what your pillow is made of can lead to damage like shrinking, color bleeding, or misshapen filling.
- Check the Care Label: Always look for the manufacturer’s care tag first. It’s usually sewn into a seam. This tag is your best friend, providing specific instructions on washing methods (machine wash, hand wash, spot clean only, dry clean only), water temperature, and drying recommendations. Follow these instructions whenever possible.
- Identify the Fabric: If the tag is missing or faded, try to identify the outer fabric.
- Cotton/Linen: Natural fibers, generally durable but can be prone to shrinking, especially with heat. Often suitable for gentle washing.
- Polyester/Acrylic/Blends: Synthetic fabrics, often more durable and may tolerate machine washing on a gentle cycle.
- Silk/Velvet/Wool: Delicate fabrics that usually require hand washing or spot cleaning. Velvet needs special care to maintain its nap (texture). Dry cleaning might be the safest bet.
- Leather/Suede: Should not be washed with water. Require specific leather/suede cleaners or professional cleaning.
- Identify the Filling: What’s inside matters too!
- Polyester Fiberfill: The most common filling, generally resilient and can often handle gentle machine or hand washing.
- Down/Feathers: Can often be washed (gently!), but require thorough drying to prevent clumping and mildew.
- Foam (including Memory Foam): Typically should not be submerged or machine washed, as water can damage the structure. Spot cleaning is usually the recommended method.
- Spot Test: Always perform a spot test before applying any cleaning solution or method to the entire pillow. Choose an inconspicuous area (like a back corner or seam). Apply a small amount of the cleaning solution with a clean white cloth, wait a few minutes (or as directed), and then blot with another clean white cloth. Check for any color transfer onto the cloth or any changes/damage to the fabric. If you see any issues, stop and try a different method (like using only water) or consider professional cleaning.
Spot Cleaning: Your First Line of Defense
For minor spills, stains, or just general upkeep between deeper cleans, spot cleaning is the safest and often most effective method for pillows without removable covers.
Steps:
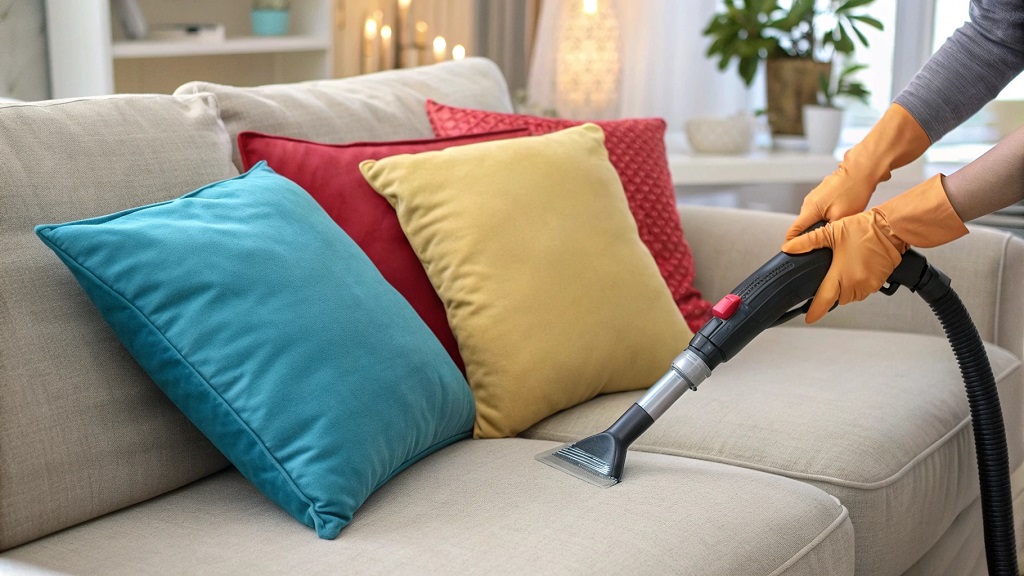
- Vacuum: Start by vacuuming the pillow using an upholstery attachment. This removes surface dust, crumbs, and pet hair. Go over it vertically and horizontally.
- Prepare Cleaning Solution: Mix a small amount of mild laundry detergent (preferably low-sudsing or one designed for delicates) or upholstery cleaner with cool or lukewarm water. Avoid harsh chemicals or bleach unless the care tag specifically allows it. For greasy stains, sometimes a dab of dish soap works well.
- Blot, Don’t Rub: Dip a clean white cloth into the solution, wringing it out so it’s damp, not soaking wet. Gently blot the stained area, working from the outside of the stain inward to prevent spreading. Avoid vigorous rubbing, which can damage fibers or push the stain deeper.
- Rinse Blot: Dip a fresh clean cloth in plain water, wring it out, and blot the area again to “rinse” away the detergent residue. Soap left behind can attract more dirt.
- Air Dry: Let the damp spot air dry completely. You can use a hairdryer on a cool setting, held several inches away, to speed things up and help prevent water rings, but air drying is gentlest.
Specific Stain Tips (Always Spot Test First!):
- Oil-Based Stains: Sprinkle baking soda or cornstarch on the stain, let it sit for a few hours to absorb the oil, then vacuum it off before trying the blotting method.
- Ink Stains: Dab gently with rubbing alcohol on a cotton swab (test carefully!).
- Wine: Blot immediately. Some suggest a mix of oxygen bleach and hot water (test!), applying with a cloth, letting sit briefly (minutes!), and rinsing thoroughly by blotting with plain water.
Taking the Plunge: Hand Washing for a Deeper Clean
If your pillow is looking generally grimy and the care label doesn’t forbid washing (or is missing, and you’ve successfully spot-tested), hand washing can provide a more thorough clean than spot treating. This is often the best choice for more delicate fabrics that can handle water but not a machine.
Steps:
- Prepare: Fill a clean basin, sink, or bathtub with cool or lukewarm water (hot water increases the risk of shrinking or fading). Add a small amount of mild, low-sudsing detergent and swish to dissolve.
- Submerge & Clean: Place the entire pillow into the water, gently pressing down until it’s saturated. Let it soak for a few minutes. Gently squeeze and massage the pillow with your hands to work the soapy water through the filling and fabric. Focus on any particularly soiled areas, perhaps using a soft sponge. Avoid aggressive scrubbing.
- Rinse Thoroughly: Drain the soapy water. Refill the basin with clean, cool water and gently squeeze the pillow to rinse out the detergent. Repeat this rinsing process several times until the water runs clear and there are no more suds. This is crucial – leftover soap residue can damage the pillow and cause stiffness.
- Remove Excess Water: Gently squeeze as much water out of the pillow as possible. Do not wring or twist the pillow, as this can damage the filling and distort the shape. You can press the pillow between two clean, dry towels to absorb more moisture.
Machine Washing: Handle with Extreme Care
This method should only be considered if the care label explicitly states the pillow is machine washable. Machine washing poses the highest risk of damaging the pillow’s shape, clumping the filling, or harming delicate fabrics or embellishments.
Steps (If Permitted):
- Pre-Treat Stains: Address any specific stains using the spot cleaning method first.
- Use the Right Machine: A large-capacity, front-loading washer without an agitator is best, as the central agitator in top-loaders can be harsh on pillows. If using a top-loader, ensure it doesn’t have an agitator or use a very gentle cycle.
- Balance the Load: Wash two pillows at once to help balance the machine drum. If you only have one, add a few light-colored towels to balance the load.
- Protect the Pillow (Optional but Recommended): Place the pillow inside a large mesh laundry bag or even a zippered pillowcase to provide some protection during the cycle.
- Settings: Use a delicate or gentle cycle with cold or lukewarm water (check the label!). Use only a small amount of mild, liquid detergent (powder might not dissolve fully).
- Extra Rinse: Select an extra rinse cycle to ensure all detergent is removed.
The Drying Dilemma: Getting it Right is Key

Improper drying is the enemy of clean pillows! Dampness trapped inside can lead to mold, mildew, and unpleasant odors, ruining your cleaning efforts. Complete drying is non-negotiable.
Methods:
- Air Drying (Safest & Recommended):
- Lay the pillow flat on a clean, dry surface, preferably on top of some towels, in a well-ventilated area. A drying rack is ideal.
- Gently reshape the pillow to its original form while it’s damp.
- Keep it out of direct, harsh sunlight, which can cause fading or degrade certain materials. Bright, indirect light is fine.
- Flip the pillow periodically (every few hours) to ensure even drying on all sides. Fluff it up during flipping.
- Be patient! Depending on the filling, size, and humidity, air drying can take 24 hours or even longer. Ensure it is completely dry – feel the center and corners – before putting it back in use.
- Machine Drying (Use with Caution & Only if Label Allows):
- Check the care label! Many pillows cannot handle the heat of a dryer.
- Use the lowest heat setting available (low or no heat/air fluff). High heat can shrink the cover or damage/melt certain fillings.
- Add dryer balls or a couple of clean tennis balls (tucked into clean socks to prevent color transfer) into the dryer with the pillow. These help break up clumps in the filling and fluff the pillow as it dries.
- Stop the dryer periodically (e.g., every 30 minutes) to check the pillow’s dryness and fluff it by hand, separating any clumps.
- Ensure the pillow is 100% dry before removing it. Even slightly damp filling can lead to problems. It might take several cycles on low heat.
Keeping Them Fresh Between Washes
You don’t need to do a full wash often if you maintain your pillows:
- Vacuum Regularly: Use the upholstery attachment weekly or bi-weekly to remove dust and allergens.
- Fluff Daily: Give your pillows a good shake and fluff to help maintain their shape and dislodge surface dust.
- Act Fast on Spills: Blot up spills immediately to prevent them from setting into stains.
- Freshen Up:
- Baking Soda: Sprinkle baking soda liberally over the pillow surface, let it sit for a few hours (or even overnight) to absorb odors, then vacuum thoroughly.
- Sunlight & Fresh Air: On a dry, sunny day, place pillows outside in indirect sunlight for a few hours. The UV rays can help kill bacteria and neutralize odors.
- Vinegar Spray (Test First!): Mix equal parts white vinegar and water in a spray bottle. Lightly mist the pillow (don’t saturate). Vinegar is a natural deodorizer and disinfectant. Let it air dry completely; the vinegar smell will dissipate. Always test on an inconspicuous spot first.
Read More Also: Best Toddler Pillow for Crib: Safe and Supportive Options for Restful Nights
People Also Ask (FAQs)
Q1: How often should I clean throw pillows without removable covers?
Generally, aim for a deeper clean (hand or machine wash if possible) every 1-2 months if they see regular use (like on the main family sofa). For purely decorative pillows in low-traffic areas, cleaning every 3-6 months or annually might suffice, combined with regular vacuuming and spot cleaning as needed. Pay attention to appearance, odor, and any visible stains.
Q2: Can I use a steam cleaner on these pillows?
Yes, steam cleaning can be a great option, especially for pillows that cannot be washed (like foam-filled) or are labeled “dry clean only.” Steam can help sanitize, kill dust mites, and refresh the fabric without saturating it. Use an upholstery attachment, keep the steamer moving, and don’t oversaturate. Always check the fabric’s tolerance by testing a hidden spot first, and ensure the pillow dries completely afterward.
Q3: What if my pillow has delicate embellishments (beads, sequins, embroidery)?
Machine washing is usually out of the question, as it can easily damage or detach embellishments. Spot cleaning carefully around the decorations is the safest bet. If a deeper clean is needed, very gentle hand washing might be possible, taking extra care not to snag or stress the decorated areas.
Q4: How do I get rid of odors without a full wash?
Several methods work well: sprinkle generously with baking soda, let it sit for several hours or overnight, then vacuum thoroughly. Airing the pillow outdoors in fresh air and indirect sunlight for a few hours is also effective. A light misting with a 1:1 white vinegar and water solution (test first!) can neutralize odors as it dries.
Q5: What if the care tag is missing or unreadable?
When in doubt, err on the side of caution. Assume the pillow is delicate. Always start with a spot test in a hidden area using the mildest cleaning solution (like water with a tiny drop of detergent). If spot testing goes well, prioritize spot cleaning or gentle hand washing in cool water with a mild detergent. Avoid machine washing and high heat drying unless you are very confident about the materials.
Read More Also: Creative Pillow Storage Ideas for Dorm Rooms: Maximize Space and Style
Conclusion
Cleaning throw pillows without removable covers doesn’t have to be a source of stress. By taking a moment to identify your pillow’s materials (and checking that all-important care label!), you can choose the safest and most effective cleaning method. Spot cleaning is your everyday hero, hand washing offers a gentle deep clean, and machine washing is an option only for the sturdiest, label-approved pillows.
Remember that thorough drying is just as critical as the washing itself to prevent mold and keep your pillows fluffy and fresh. With regular maintenance like vacuuming and fluffing, and by tackling spills quickly, you can extend the time between deeper cleans. A little care goes a long way in keeping these decorative accents looking beautiful, smelling fresh, and contributing to a healthier, cozier home environment. Happy cleaning!